Whether you’re a Twitch streamer, YouTube Live broadcaster, or someone who hosts webinars, knowing how to create engaging clips from your streams is essential. These short segments can be used to highlight key moments, share funny reactions, or even promote your content across social media platforms.
But if you’re asking, “How do I make a clip after streaming?” — you’re not alone. In this comprehensive guide, we’ll walk through **step-by-step methods to create high-quality video clips** after your live stream ends, using built-in tools from streaming platforms, third-party software, and professional editing workflows.
🎯 Why Create Clips from Your Streams?
Before we jump into the how-to, let’s take a quick look at why you should be making clips from your streams:
- Highlight memorable or funny moments
- Create promotional content for social media
- Build hype for future streams
- Showcase gameplay, skills, or commentary
- Archive important discussions, lessons, or reactions
Clips act as digestible, shareable content that continues to work for you long after the stream is over.
🖥️ Method 1: Using Platform-Specific Clip Tools
🔹 Twitch
Twitch makes it easy to create clips from your previous broadcasts:
- Go to your Video Producer dashboard.
- Find the stream you want to clip.
- Click the “Clip” icon (scissors symbol).
- Trim the clip to the desired length (between 5 and 60 seconds).
- Title the clip and save.
You can also download the clip or share it directly to social media.
Pros:
- Easy to use
- No external tools needed
- Integrated sharing features
Cons:
- Limited to 60 seconds
- Basic editing only
🔹 YouTube Live
YouTube has a built-in clipping feature for eligible channels:
- Navigate to your live stream VOD.
- Click the “Clip” button under the video player.
- Select the start and end points (up to 60 seconds).
- Add a title and hit “Share Clip.”
You can also download the entire stream and use video editors for more advanced clips.
🎥 Method 2: Download the Stream and Edit It
If your stream platform doesn’t support clipping or you want more flexibility, download your full stream and use editing software.
✅ Step-by-Step:
- Download your stream:
- From Twitch, YouTube, Facebook, or another platform
- Use Applian’s Replay Media Catcher if you don’t have access to the original file
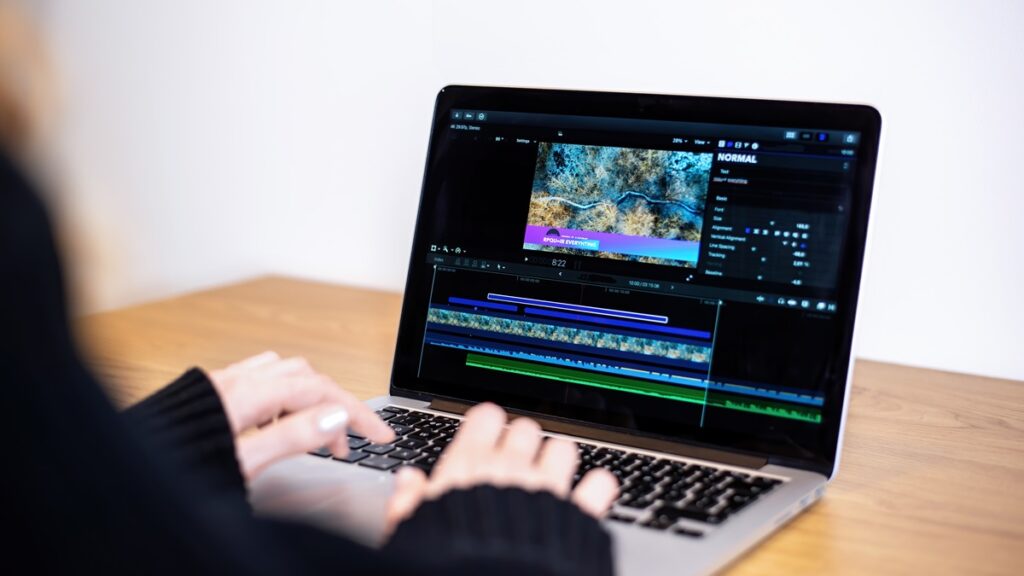
- Import the video into editing software:
- Free: iMovie, Shotcut, DaVinci Resolve
- Paid: Adobe Premiere Pro, Final Cut Pro, Camtasia
- Scrub through the footage:
- Find the moments you want to clip
- Use timestamps or markers to stay organized
- Trim and edit:
- Set in/out points for your clip
- Add overlays, subtitles, transitions, or branding
- Export the clip:
- Recommended formats: MP4, MOV
- Adjust resolution and aspect ratio for social media (square, vertical, widescreen)
✂️ Recommended Software for Editing Clips
| Tool | Platform | Best For |
|---|---|---|
| iMovie | macOS | Simple video trimming and branding |
| DaVinci Resolve | Windows/macOS | Professional-quality editing |
| Replay Video Capture | Windows | Recording and editing your screen |
| Adobe Premiere Pro | Windows/macOS | Advanced editing and effects |
| Clipchamp | Web-based | Quick browser-based edits |
