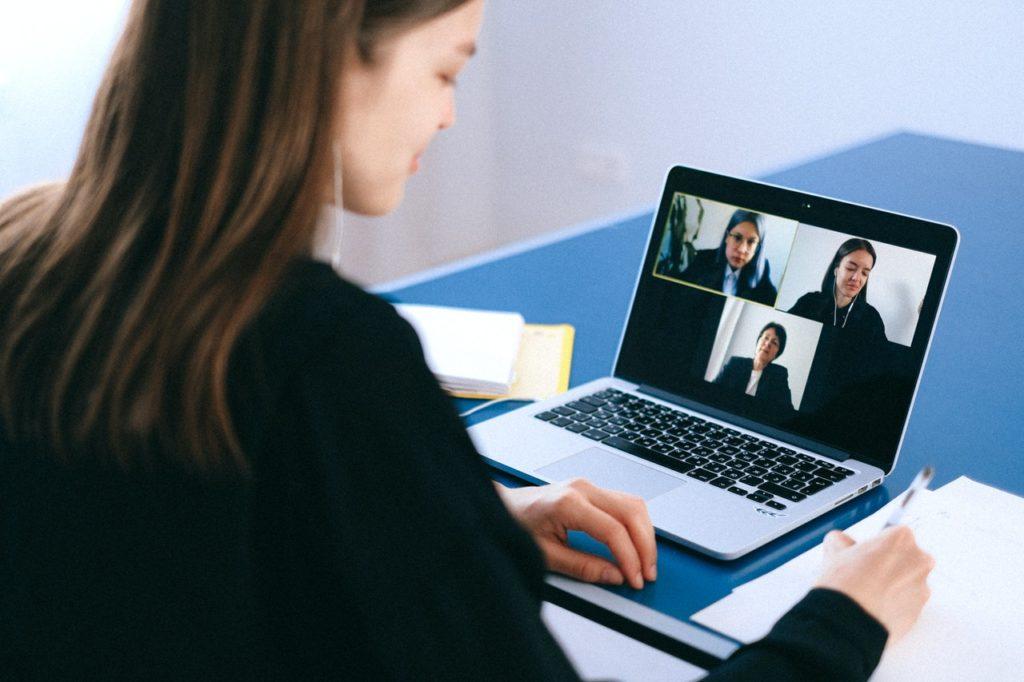
It can be challenging to recall every item that was mentioned during a meeting, especially if you discussed more than one issue. Instead of taking down notes, you might want to record your Zoom sessions and watch them anytime you need a quick refresher.
Furthermore, recording a Zoom meeting allows you to share the information that was discussed with colleagues who were unable to join the meeting. You don’t have to know much about technology to record a Zoom meeting because you can start or stop a video recording session with just one click. So, in this article, we will explain how to record Zoom meetings easily.
How to Record Zoom Meetings on PC and Mac
When it comes to meeting recordings, Zoom provides two options. Zoom’s free and commercial versions both include a local recording capability that allows users to save captured footage to their local hard disks. The local recording feature is available for free. Whereas its equivalent cloud recording starts at $14.99/month per host for the Pro level and works well for small teams.
If you have a medium-sized business with 10 hosts, the deal is $19.99/month/host for Business. Finally, for larger enterprises, the top deal is Enterprise at $19.99/month per host, beginning at 100 hosts.
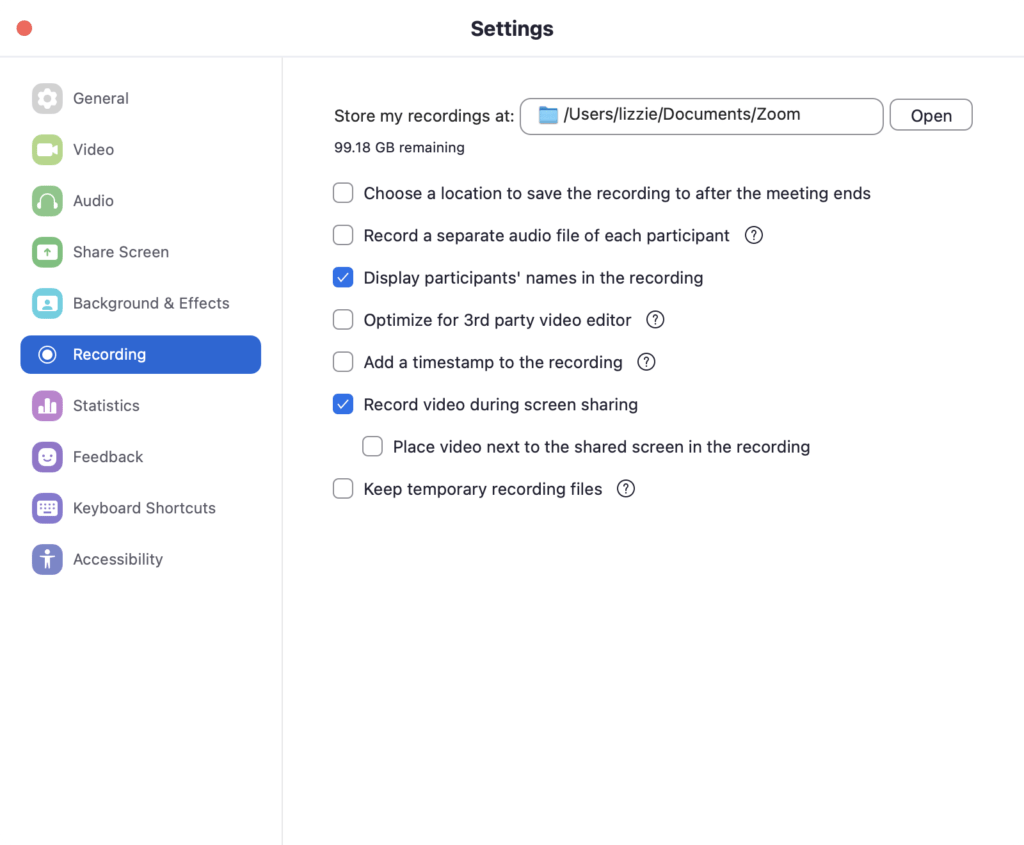
To set up your computer for local recordings, you need to assign a folder. To avoid searching for the folder Zoom automatically created for this purpose, you should choose the location where your file will be saved before you begin recording a meeting. After launching the Zoom Desktop Client, click the Gear symbol to view the Settings panel. On a Mac, click on Preferences to access the Settings.
Navigate to the Recording tab and click the Open button next to the Store My Recordings At option.
Note: On Windows, this is known as Local Recording.
If you wish to capture the screen while various people share their displays, you can activate the Record Video During Screen Sharing option.
If you’re using Zoom Web, you must first enable the local recording option and then begin recording a meeting. Navigate to the Personal menu and select the Settings option to see if the Local Recording function is turned off.
If the Local Recording option was not activated, click the switch next to it.
You may also enable this option in all groups you create using Zoom. Click the Group Management button, navigate to the group in which you want to enable this option, and then click the Settings tab. Open the Recording tab and enable the Local Recording option if it is not already enabled.
Now you’re all set to start recording Zoom meetings.
How to Record a Zoom Meeting to Local
When you’re ready, start a Zoom meeting and click the Recording button. If a menu appears on your screen, select the Record on this computer option, and a small recording bar will appear in the bottom right corner of your screen.
Zoom will transcode the meeting recording after you finish recording to make the file available to you. When the conversion is finished, the target folder will appear on the screen, allowing you to immediately preview the movie.
- Find the Record button in the bottom toolbar
- Use the Pause / Stop button to pause or stop the recording when needed
- When the recording is complete, it will be saved as an mp4 file in the folder you’ve set up. You can also go to Meetings right there in Zoom and locate the recording from there.
How to Record Zoom Meetings with Meeting Recorder Plus
If you’re looking for more advanced recording options, you should try Meeting Recorder Plus.
Meeting Recorder Plus is screen capture software designed to record Zoom, Skype, Google Meet or any other video conferencing software you use on your Windows computer.
When recording video calls, Meeting Recorder Plus tracks the position and size of Zoom, Skype or Google Meet windows on the screen. Another huge advantage of this software is that it includes a unique feature that makes top-quality audio recordings possible even if the call or webinar has lots of participants, and has problems with echo and feedback.
To record a Zoom meeting with Meeting Recorder Plus, follow these steps:
Open Meeting Recorder Plus
- If either a Skype, Zoom or Google Meet window is open, Meeting Recorder Plus will automatically start tracking the position and size of the window on your screen. You can start recording right away. If none of the above programs are open, you can use Meeting Recorder Plus as a general, high-quality screen capture tool.
- When using Meeting Recorder Plus as a screen capture program, the message ‘Screen capture mode’ is shown. If you open a recognized video conferencing program and you need to track its window, open MARK, then click Track windows. Click RECORD to start recording. The RECORD button turns to STOP and the PLAY button turns to PAUSE, which makes it easy for you to pause or stop the recording.
- You can also use hotkeys to start/stop, pause the recording or control the Smart Microphone recording settings.
- During recording, the selected window position and size cannot be tracked.
- To play the latest available recording, click PLAY.
As you can see, recording Zoom meetings with Meeting Recorder Plus is super-easy and the quality of the recordings is outstanding.